Showing posts with label Self-Sufficiency. Show all posts

Sunday, December 28, 2014

Easy, homemade Lacto-fermented Sauerkraut

Sauerkraut is a food that I have grown to appreciate as an adult.  When I was younger, my parents would eat it and I thought it looked disgusting.  I was a kid and kids are weird that way....  

I've expanded my food preservation skills into making fermented pickles, pickled jalapeƱos, and pickled yellow peppers, so this year I decided I'd try sauerkraut as well.  After lots of googling, I opted for lacto-fermenting, because it took less time, less salt, and I happened to have plenty of whey in my homemade yogurt container.

You'll need:
I large, firm head of cabbage (or two smaller heads), finely chopped (a food processor with shredding capabilities would be really useful here)
2 Tablespoons of sea salt
1/2 cup of whey.  (If you don't have any sitting around, you can buy a large container of plain yogurt and strain it through cheesecloth and you should end up with enough whey)

You can also add one shredded carrot and/or one finely sliced onion if you want to, but for my first try I wanted to stick with the basic recipe.  

Place shredded cabbage in a large bowl (this is my big popcorn bowl)


Add salt


Add whey


Use your hands to "massage" the cabbage several times over the space of a half an hour or so, until the texture changes from crisp to wilted.  You can use a potato masher for this if you don't want to use your hands, but hands work better. (Ignore the giant bags of cereal in the background)


Place cabbage and liquid in a large jar.  Press the cabbage down firmly so it's packed tightly, and is below the level of the liquid.  You can add a little water if you need to to make sure the cabbage is covered, but it shouldn't be necessary.  I used a half gallon mason jar. 


Place a plastic bag in the jar and fill it with water, making sure that the bag spreads out inside the jar.  This acts as a weight to hold the cabbage below the level of the liquid.  


Place a lid on the jar.  I just used the ring, and let the water bag be open at the top, but you could tie the bag off, and put a solid lid on the jar too.  It doesn't make that much difference.  I just wanted to leave plenty of room for the sauerkraut to expand- and my very full bag of water did end up spilling down the sides of my jar a little.


Place the jar in a corner of your counter, away from major heat and direct sunlight.  

Now wait.


And wait....

My kitchen was a little on the cool side, so what was supposed to take three days took two weeks to get to where I was satisfied with the taste.  After the time was up, I divided the kraut into three pint jars and put it in the fridge. 


Now I just need some bratwursts.  


Update:  Got some hotdogs... They were good.


Wednesday, May 21, 2014

Hardening off plants

Check out my Inner Pioneer post over at feminist Mormon housewives on how to harden off plants you grew from seed.  If you don't harden off seedlings, they'll die when you plant them outside.

Hardening off plants

Wednesday, October 02, 2013

What do I do with 80 pounds of chicken?

For the last several years, I tried really hard to only buy farm-raised meat.  After watching a few too many documentaries highlighting to horrible conditions of factory farmed meat, I was done.

In practice, what has happened is that we've pretty much stopped eating chicken, aside from the occasional cheat with a costco rotisserie chicken.  We tried raising our own meat birds, and buying them from a local-ish farm.  But in the end, they always ended up being so expensive that we just couldn't afford to eat chicken very often.

I'm giving up.  At least for now.  After reading several positive reviews of Zaycon Foods, I decided to give them a try, and ordered two cases of chicken.

I picked up my chicken today and got to work.  This morning I made sure to set out all my supplies.  Clean jars (with lids and rings ready to go), trays and wax paper for freezing individual breasts (then I'll put them all in gallon sized freezer bags), a cutting board and scissors and a knife.  I also had a big bowl for scraps, and disinfectant wipes for just in case.  I also put 1/2 cup or so of water into each quart jar.  I've read instructions that say to top off the jars with water after, and instructions that say that chicken creates it's own liquid so adding water is unnecessary, and I've read that the chicken doesn't always create quite enough liquid, so adding a little is helpful.  I went with the latter.


Two big drippy boxes of raw chicken breasts.  The breasts were large and had some fat that needed to be trimmed off, but were really not too bad.  I cut them in half, trimmed them up, and cubed them for jars or just left them in individual breasts for freezing.


Add 1 tsp of salt to each quart.  (I used canning salt because regular salt will cloud the liquid in the jar, but for chicken, I really don't think it matters, it ends up cloudy looking anyway...


Usually when I wipe jar tops, I just use a damp rag, but chicken is slimy, so I opted for a disposable paper towel and vinegar.


Add lids (I put mind in water, bring it to a boil, let them boil for a short while then put them on).


Add rings, and place them in your pressure canner.  Make sure to follow the instructions that came with your canner.  I bring the canner to a boil, put on the lid, wait for a steady stream of steam, then set the timer for 10 minutes.  After that I add the weight/stop to the lid and watch until the pressure gets to around 13 pounds psi.  Then I set the timer for 90 minutes.  I'm a little neurotic and checked the three canners I had going today every few minutes to make adjustments to the heat to keep the pressure in the right range.


Once the 90 minutes is up, turn off the heat and wait until the pressure gauge reads zero.  DO NOT REMOVE THE WEIGHT OR THE LID BEFORE THAT.  It sucks out the liquid from your jar, and also, will hurt you.  Once the pressure is gone to zero, carefully (you may want to wear an oven mitt just in case) remove the weight and the lid and using a jar lifter, move the jars to a safe place to cool down.  When they're cool check for seal, and any that don't seal should go in the fridge (I'd say reprocess them, but really, after 90 minutes, there's no way I'm redoing that for one jar that didn't seal.  We'll just eat it up this week).


I didn't take any pictures of the chicken that went in the freezer, because of slimy raw chicken juice everywhere, but I canned 40 pounds of chicken, and froze the other 40 pounds.  I used trays and wax paper, stacking them up so they'd all freeze individually to make them easy to put into bags later.

In the beginning of to 80 pounds of chicken, I cut really carefully so I didn't waste anything.  Toward the end I got a little sloppy.  I gathered up all the fatty chicken scraps and put them in the crock pot, covered them with water and stuck in some veggies that I happened to have on hand.  The crock pot is pretty full, and I haven't quite decided whether to make a huge pot of soup and eat it right away or try adding carrots/celery/onions and canning chicken noodle-less soup.  


All in all- it wasn't as bad as I thought it would be, and now I have a shelf full of canned chicken and a freezer full of frozen chicken breasts.

Friday, January 04, 2013

Garden Resolutions: 2013

Our new house is getting closer to being done.  The drywallers have finished, the gypcrete has been poured on the main floor (gypcrete is a soupy concrete-like material that we're using under the tile on the main floor to add "thermal mass", thermal mass acts as a heat sink, moderating the temperature of the house.), and the next thing to do is paint and tile.

With feeling like we may actually be able to move in at some point, I've been getting excited and overwhelemed  at the idea of creating a garden from scratch.

My plan is to fill the south side of the house with raised beds.  The raised beds may have to be unframed and we'll box them up a couple each year until they're done.

The east side of the house is going to be my "forest" and maybe at some point there will be a pond in the corner near where we buried Taja.  The west side will be the grassy rectangle for the boys to play and run around, and we'll surround it with raised beds like we did at our last house- those raised beds will hold the grapes, strawberries, raspberries, and whatever else I can think of.

One side of the very long driveway will be our "orchard.  I'll probably plant a peach tree, an apricot tree, a plum tree, and a nectarine tree.  I'm debating doing some espaliered apple trees...

It's going to be a lot of work and I'm sure it will take several years to get things the way I want them, but eventually it will be great.

If I can manage to get anything done besides just getting things going, my plans for reclaiming my inner pioneer this year include:


Trying round 2 with bees.  Try #1 didn't survive the winter (we may have squashed the queen...).

Try #2 with the potato tower (this time I'll make sure to get the right kind of potato).


Try artichokes again.  Last time, I was able to get one plant through the winter, and it produced several artichokes, but I'm thinking they would fit really well up against the house on the south side of the yard.  In between the window wells...


Friday, October 12, 2012

Putting the Garden to Bed, and Storing the Harvest

The last post of the season is up over at fMh.  Go check it out, and learn what you need to do to make sure your garden is ready to go in the spring, as well as how to get your fall harvest to last as long as possible.


Also, it looks like LDSLiving.com picked up some of my Inner Pioneer posts in their Mormon Report section.  Yea me! 

Now I just need to get out and finish putting my own garden to bed.  I only dug about half the potatoes, and there are a lot more sunflowers out there.  My Mister likes to eat sunflower seeds to keep him awake while driving, so maybe he can eat home roasted ones.  If you have any great flavor suggestions, let me know.

Monday, October 08, 2012

Homemade Grape Juice

Head over to feminist Mormon housewives to see my post on making your own grape juice!


Saturday, September 29, 2012

Under Pressure: Pressure Canning Without Fear

I have a new post up at Feminist Mormon Housewives on pressure canning tomatoes, though the tips are helpful for any food you want to pressure can (low acid foods like green beans, and meats, and things like soups should be pressure canned.


Friday, September 21, 2012

Apples


Head over to feminist Mormon housewives to read my new post, and learn how to can applesauce and pie apples. 


(pay no attention to the jar of apricot puree)

Tuesday, September 11, 2012

Alice Picked a Peck of Pickled Peppers

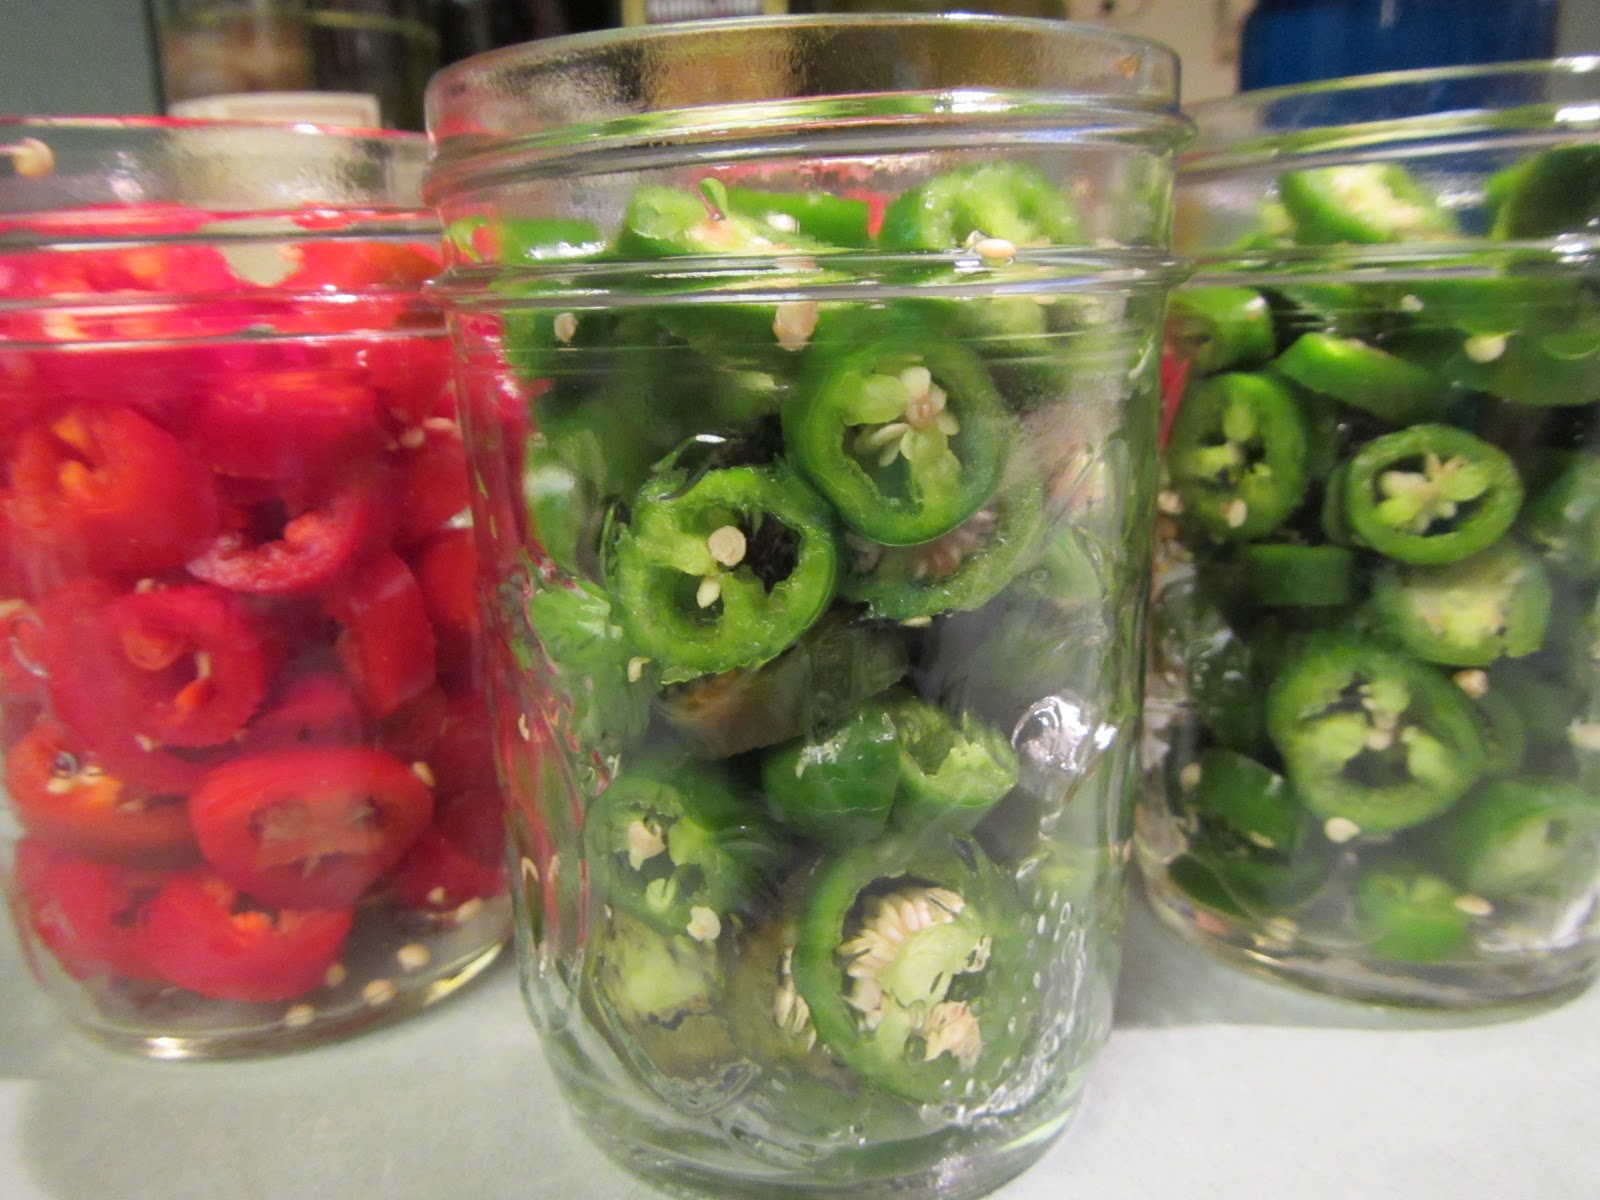
Every year, I plant one or two jalapeno pepper plants.  Inevitably, if I plant one, it dies, and if I plant two, they both flourish.  The same thing seems to happen with zucchini plants.  It just happened that while I was making salsa with my Mister, we took a break for lunch, and he pulled the store bought jar of pickled jalapeno peppers out of the fridge to put some on his sandwich.  It was an "aha" moment.  Something we've been buying that we don't need to be.  A few days later I went out and picked all the jalapeno peppers, did a little googling for a good, simple recipe and got busy.  My adjusted recipe worked perfectly for 2 half pints of chopped peppers.  

1 quarts jalapeno peppers
1 cups white wine vinegar
1 cups water
1/2 teaspoon pickling salt per half pint
1 small garlic clove peeled, whole per half pint

Wash the jalapeno peppers, then, wearing gloves, chop them all into quarter inch slices.  The gloves are important so that you don't burn your skin.


Fill your jars, leaving an inch or so headspace (these were packed down a bit before we added the brine).


Add garlic clove and salt.


In a pan, combine vinegar and water and bring to a boil.  Pour boiling liquid into jars, wipe rims, and top with 2 piece caps.  Process in a boiling water bath canner for 10 minutes (adjusted for altitude in my area it was actually 20 minutes).  


This is my first year getting into pickling, and it's so easy, I can't believe I haven't done it before.  Remove the jars from the BWB canner, and place on a towel on the counter until cool.  Check for seal by pushing in on the lid.  If it didn't seal, put it in the fridge and eat it first.  Jars that sealed can be wiped down and put in the pantry.  Delicious, easy pickled jalapeno peppers ready for use all year!

Saturday, June 16, 2012

Garlic Scapes and Garden Update- June

Last week I finally got around to cutting the garlic scapes.  Garlic scapes are the stem that the flowering head grows on.  They should be cut off to allow more growth to go to the bulb.  


You cut them at the point they meet the leaves.  I think I had close to 25 scapes.  Cut just below the flower bulb and discard the upper part (I fed them to my chickens).


Coat scapes with olive oil, and sprinkle with salt.


Put on a hot grill (this was a bedtime snack...)


It's just like cooking asparagus.  They were tasty, but the two of us could only eat so many.  The rest I pureed with olive oil, parmesan cheese, and pine nuts- garlic scape pesto.  We ate some on pasta for dinner the next night and the rest, I put it in little containers and froze for later.


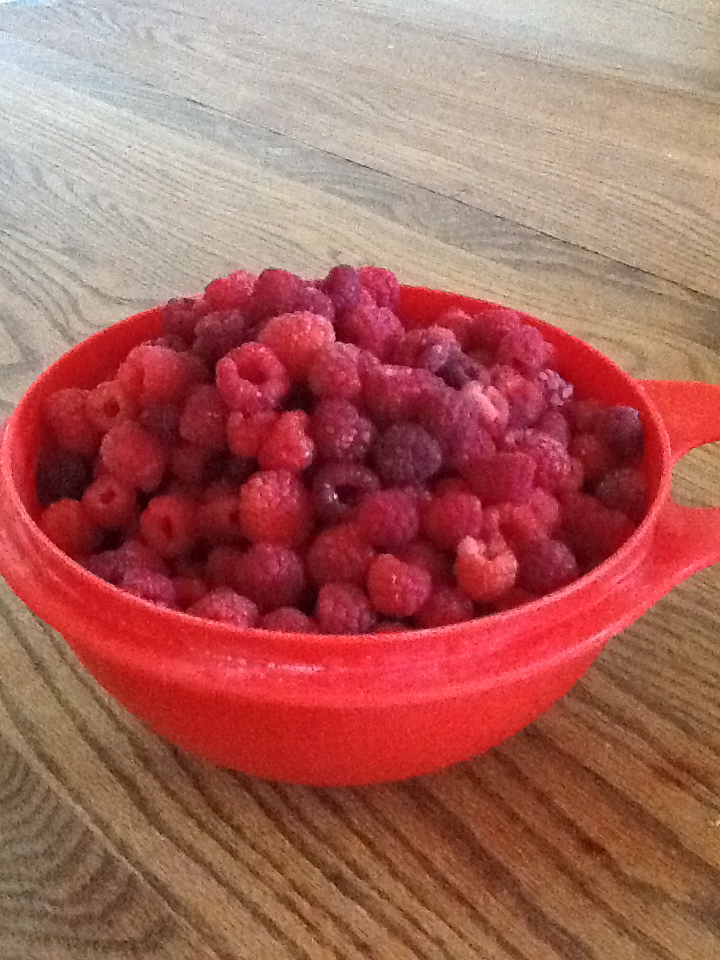
This morning when My Mister got back from a scout campout, we headed over to my cousin's house.  She's out of town and said we could pick her raspberries.  We picked about a gallon of berries.  Two trays full went in the freezer, and we saved a bowl for eating.  Some day I'm going to have a patch like that.  We'd have plenty to eat, make jam, and freeze enough to last the winter.  Also canning.  I canned a few jars last year as an experiment, and while we didn't like them for eating, My Mister loved them for putting in smoothies.  I'm all for smoothie fruits that don't take up freezer space!


After picking berries, we took naps (we all had late nights) then I planted this rocoto pepper plant that we started from seed.  It's in a self-watering container, which hopefully means I don't kill it off.


I planted three small cherry tomato plants in a larger self-watering container.


I mowed the patio-yard with the reel mower.  Plus My Mister moved the dog kennel since the backyard is now fenced in.  The property value just took a jump up.


My Mister moved things around and weed whacked around the chicken coop.  The chickens get the dog kennel and now have a much bigger yard to roam in.


I watered the garden, and My Mister put the last of the grass clipping pile and spread it out on the pathways.  The garden is looking great, although the sprinkler system is not working.  The control box malfunctioned.  It's getting replaced tonight- I'm tired of hand watering.

My Mister mowed the field.


I buried the potato plants again.  I'm mildly concerned about the potato box.  Apparently late season potatoes work better, and I think the variety I have here is a mid-season.  Hopefully I'm not disappointed this fall to take the thing apart and have only a hand full of potatoes.  The plants have grown really well, so whatever happens, I'll do it again next year, but I'll be more careful about selecting a good variety.


Sunday, May 06, 2012

Garden Progress and a DIY Wasp Trap


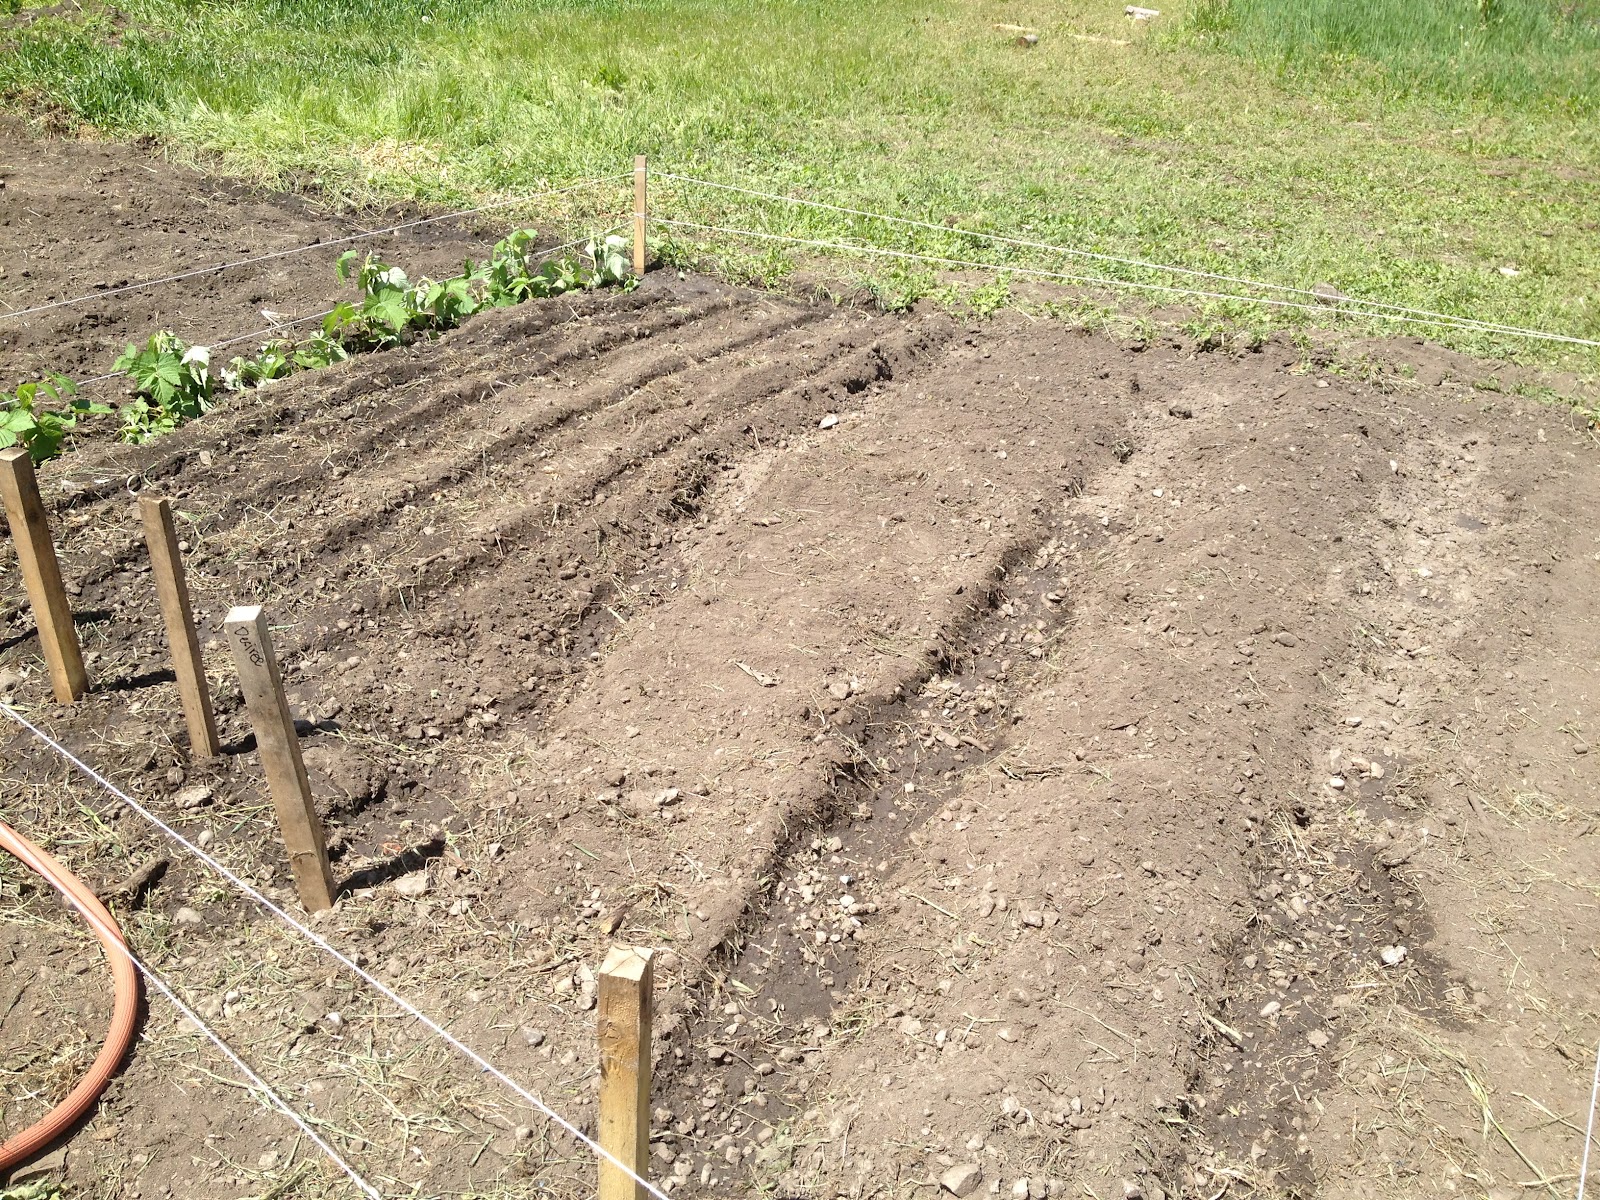
My Mister and CP worked on digging a trench to run the sprinkler line to our new smaller "big" garden.  Since the house is going to be under construction this year, we'll have trucks driving over our regular garden spot.  My Mister plowed up an area further south, leaving room for trucks to get through where they'll need to.  It makes the big garden smaller than we'd like it, but we'll survive.  Originally he was going to run a line all the way up the side of the garden, but the side by the sheds is so rocky that we decided to run the line just next to the sheds, and from there, just do some sort of above-ground line.  We don't know if we'll need to use this garden again next year or can move back to our regular location which will soon be my back yard.  (Imagine- gardening in my own garden in my own back yard....sigh...)


12 rows of green beans.


3 rows of potatoes.


One peach tree.  This replaced the peach tree we planted with my dad two years ago that died over the winter.  It's a little taller than I like for a new fruit tree, but it had the best shape of all the trees at the nursery.  I can't remember the name, but it's a mid to late producer (which means it's safer from frosts), freestone, and very sweet. 


One Bartlett Pear.


This is my potato tower.  I plated 12 or so seed potatoes in the bottom.  Once they sprout, we'll screw the first round of slats around the bottom of the tower and fill it in with soil or something... It will end up being a lot of soil, so I'm not totally sure about what I'm going to use.  I have a big bag of peat moss, so I may use that.  I also have a lot of old potting soil, which I may use.  The idea is that as the plants grow, you build up the sides of the tower.  I'll be able to harvest early potatoes by unscrewing the bottom slat and pulling the little potatoes out- all without disturbing the rest of the tower.  I've posted the link before, but I got the idea from pinterest, and this website.


The strings are to deter Inti dog from romping through my newly planted garden.  This is the bean side.


The potato side (well there are more beans over there too..).  My Mister says I need to work on my straight rows.  Whoops.


These are the raspberries we got from my cousin.  We were going to plant them somewhere else, but it was filled with weeds, and we didn't have time to get it ready, since the raspberries were a last minute trade for some of our tomato plants.  This will be a fine place for raspberries.  I'm just happy to have a year head start from when I thought I'd be planting raspberries in my yard.


The far end that isn't planted yet will hold squash and as many tomato plants as we can fit in.  Along the right side of the picture I planted a row of giant sunflowers.  


Gratuitous chicken pic.  I have two broody hens, and they weren't tempted out by the greens I tossed in.


I saw a tutorial on pinterest for a homemade wasp trap.  We had several crawling around in the chicken coop, so I cut the top off of a 2-liter bottle, inverted the top inside the bottle, and filled the bottom with vinegar and sugar.  I caught three wasps and several flies the first couple of days, but haven't caught anything since.  I think it needs to be refreshed regularly.  


Hello Egg.  No reason for this picture, other than to express my joy that it is spring, and the grass is green, and the eggs are aplenty.